


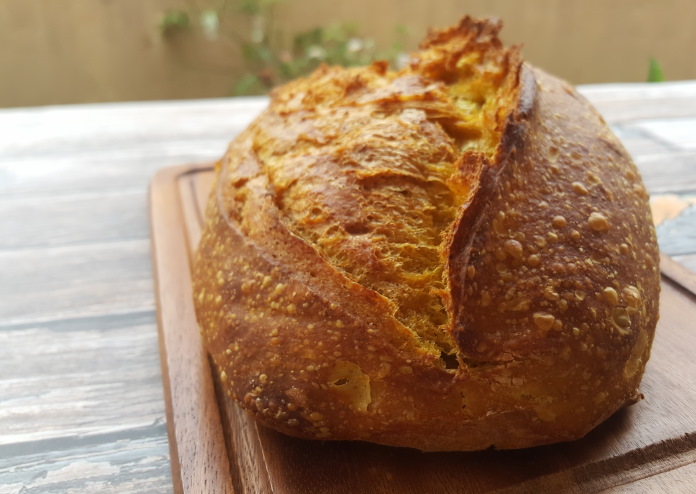
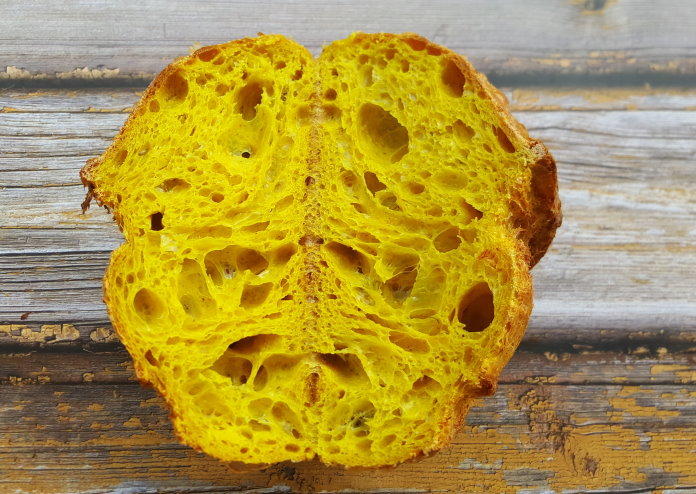
TURMERIC with its mildly spicy with gingery overtones, has potent and powerful anti-oxidant properties. The tuber’s vibrant orangey-yellow hues not only flavours but also livens up curries and even bread-baking. Not only is it the perfect carbo for mopping up curries, it tastes great as sandwiches with Asian-inspired fillings like mutton rendang! Enjoy it toasted and topped with sunny-side up eggs.
Total Time: 2 days including overnight proofing in the fridge
Difficulty: 3/5
Cost: $7.00
Yields: 1x 500g boule
A: Dough
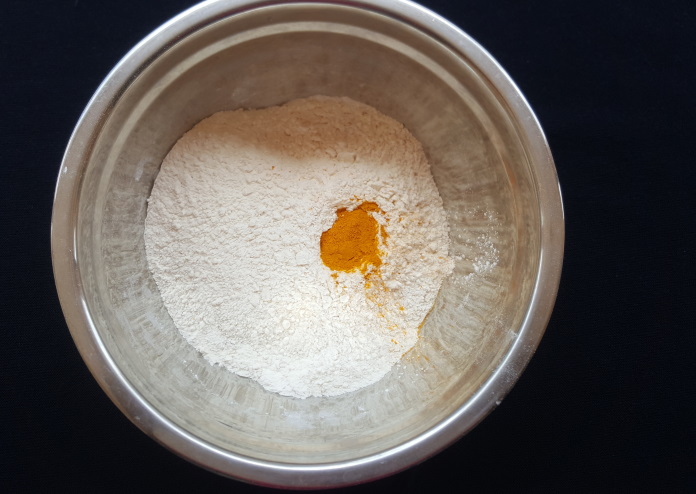
240g bread flour, high protein
60g wholewheat flour
1 teaspoon turmeric powder
230g water
B: Leaven, Salt
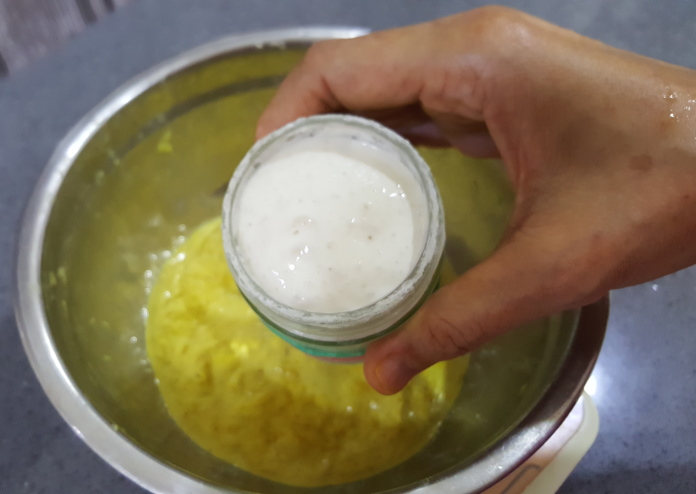
60g starter, 100% hydration
6g salt
DIRECTIONS:
1. Combine A in a medium mixing bowl. Using a spatula, mix until everything comes together into a shaggy dough. Autolyse 2½ hours at room temperature.
Autolysis, in sourdough baking, is the process where flour and water are mixed together and left to stand at room temperature – this is to ensure that the flour is hydrated.
2. Add starter and mix until it is fully incorporated. Cover and rest for 30 minutes.
3. Mix salt into dough, making sure it is well distributed. Cover and rest for 30 minutes.
4. Next, perform 2 light folds at 20 minute-intervals. This allows gluten in the dough to relax in between each fold.
5. Laminate dough: On kitchen counter, gently stretch dough into a rough rectangular. Fold inwards starting from the left, fold 1/3 of dough towards the centre. Do the same from the right side, overlapping the dough. Rest 20 minutes.
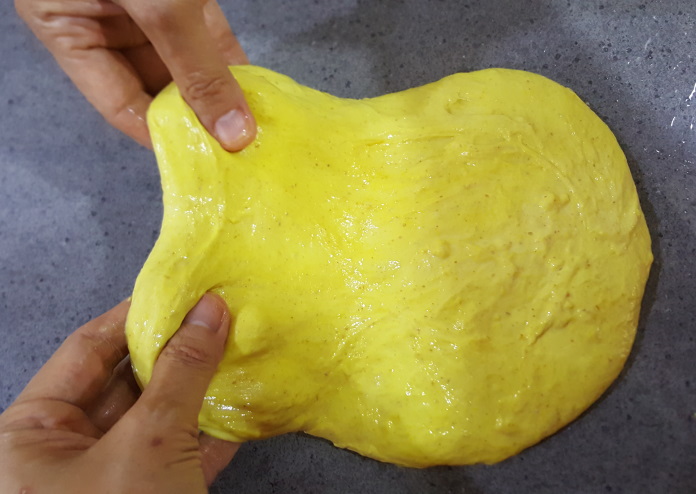
6. Next, perform 3 sets of coil fold (CF) at 30-minute intervals. Each set has 4 folds. With both hands, lift dough up in the middle. This stretches the dough as it is being lifted. Gently lower it back into the bowl, allowing it to fold onto itself. Do the first fold, give bowl a quarter turn until a full set is completed.
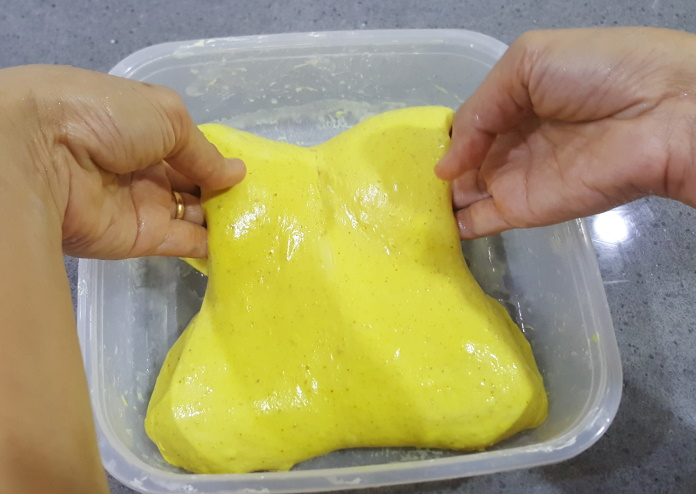
7. Continue with another 2 more sets of CFs, resting 30 minutes in between. In sourdough baking, is a technique often employed in sourdough baking to aid the development of gluten. It helps the dough to hold its shape before and during baking.

8. Allow dough to rest for 5 hours at room temperature until it rises and becomes wobbly – this is the 1st prove which is known as bulk fermentation, a term that is often used in Gently shape it into a cylindrical dough.
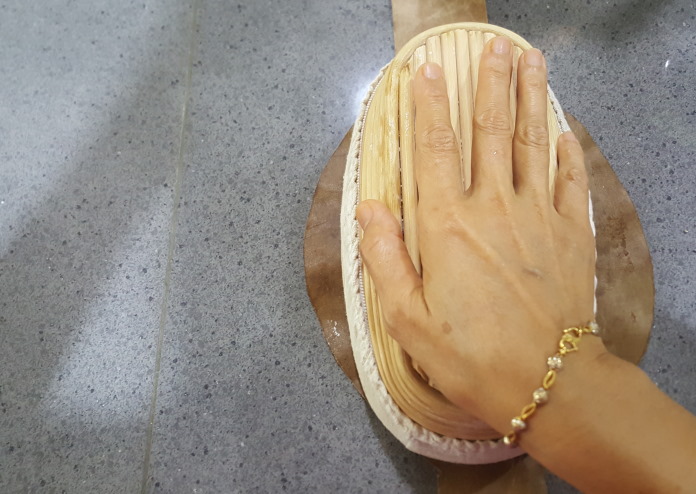
9. Shape dough. Transfer dough into a proofing basket — 24 cm x 14 cm banneton (made of rattan which is ideal for sourdough) or any receptacle large enough to hold it. Cover with a thick kitchen towel. Place it in the refrigerator for an overnight cold retard of 15 hours.
Cold retarding is a baking term that refers to second proofing or rising in the refrigerator. This slow fermentation process, usually done overnight, allows bread to develop flavour. The bread is then baked the next day.
10. The next day, flip banneton onto parchment paper to gently release the dough from the basket. Transfer to the freezer for at least 30 minutes. This blast chilling firms up the dough, creating a taut surface that makes it easier to score or slash the dough.
11. Meanwhile, preheat oven to 250°C for 30 minutes. Ensure that the baking vessel can withstand high oven temperatures of up to 250°C.
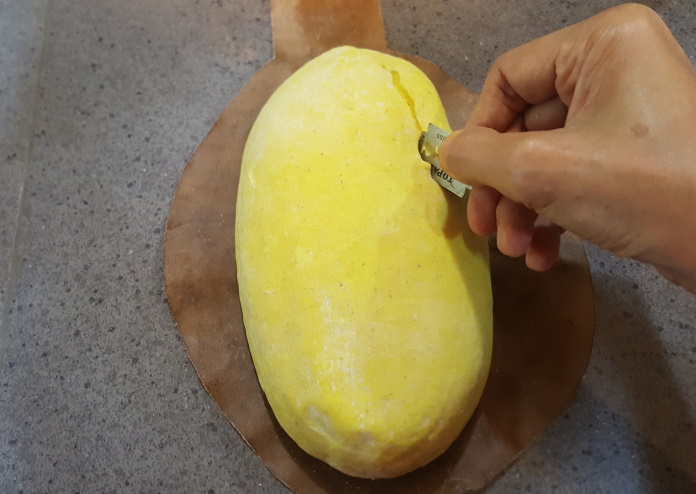
12. Remove dough from freezer. Using a lame (a razor blade fitted to a handle) or a naked razor blade, score dough according to your artistic leaning. Fill a spray bottle with water. Spritz dough all over with water.
13. Putting on oven mittens, exercise extreme caution. Remove baking vessel onto heat resistant kitchen counter. Gently and carefully, holding onto baking paper, lower dough into vessel. Put cover back on.
14. Bake for 30 minutes. Open up oven to remove cover of baking vessel. Remove cover of baking vessel. Reduce heat to 200°C. Continue baking another 20 minutes until crust is golden brown.
Home-bakers skip for joy when they see blisters on the crust! They form when carbon dioxide escapes through the crust during long periods of cold fermentation. The textural contrast of blisters on a crackly crust with an airy and tender crumb usually means a delish loaf can be expected.
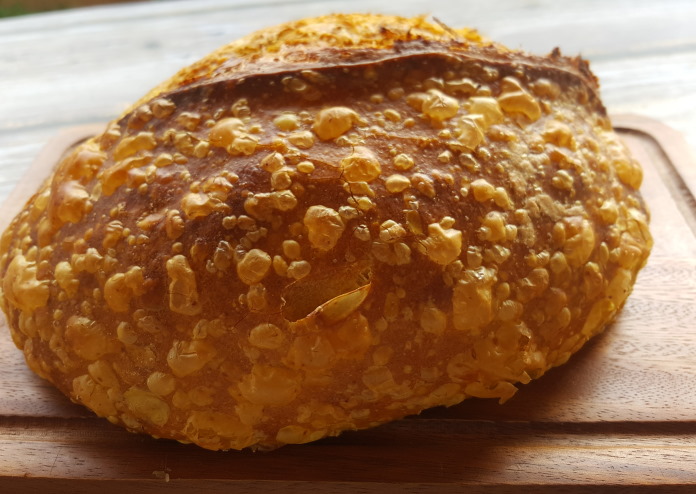
15. Allow boule to cool down completely, approximately 2 hours. Do not be tempted to slice it yet – the crumb will be gummy as the moisture needs to fully evaporate while cooling down. Using a sharp bread knife, cut it open to check crumb texture.
TIP: A good way to ascertain that bread is cooked is the aroma of freshly baked bread wafting from the oven. If a darker crust is preferred, continue baking until it is done. When you open the oven door, the aroma will greet you. Using oven mittens, take out the bread, taking care not to get burned.
TECHNIQUE: Scoring is making an incision on the surface of the dough with the aid of a razor blade or a super sharp knife. Hold blade at an angle, and score as if you’re filleting a fish. This creates an opening to direct steam formed during baking to escape, allowing the dough to expand without bursting the skin.
PHOTOS: Lilian Lim
Click on STORM-Asia/food for more recipes and reviews of restaurants.
If you have a simple recipe to share, please email it whipitup@storm.sg.
You may like to try these recipes:
Sweet Potato Mantou with Sourdough


