


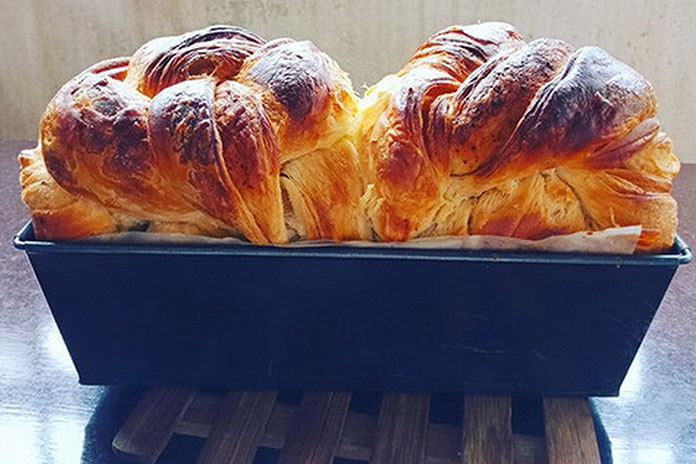
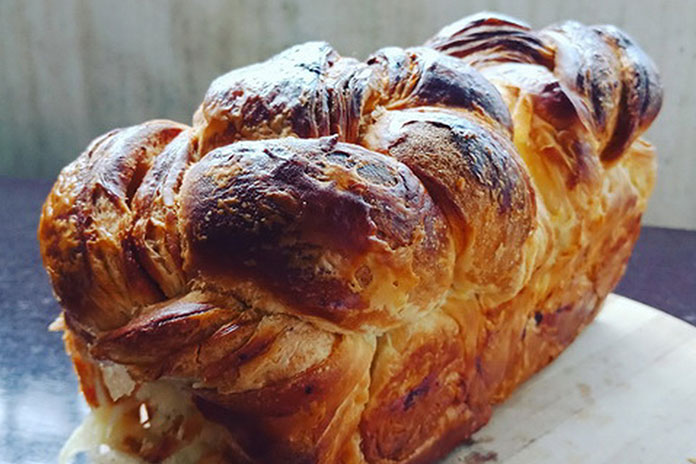
Danish Garlic Bread – Whip It UP!
It was the Austrian bakers who introduced the concept of lamination to the Danes – sandwiching yeast-leavened dough with butter to create multiple layers and add fluffiness to the crumb. A variant of puff pastry, Danish dough only needs one short kneading at the beginning of the process. To further boost the rich flavours of this buttery loaf, garlic-herb butter makes it an irresistible indulgence.
Total Time: 5 hours
Difficulty: 4/5
Cost: S$8.00
Yields: 2 loaves
A: Danish Dough
230g bread flour
100g cake flour
16g milk powder
½ teaspoon salt
1½ tablespoons sugar
1 teaspoon instant yeast
2 small eggs, 45g each shell on
40ml milk
70ml water
40g butter, cold
B: For Lamination
180gm butter, cold, cut into 6 rectangular slices
C: Egg Wash
1 egg yolk mixed with 1 teaspoon milk
D: Garlic Herb Butter
Make your own or use store-bought
DIRECTIONS:
1.In a large mixing bowl, combine all ingredients except butter. Using a whisk, mix until a soft dough forms. Next, add in cold butter. Transfer dough to a kitchen top and dust it with some flour. Hand knead until ingredients come together and dough becomes smooth, approximately 10 minutes. Alternatively, machine knead 10 minutes in a food processor fitted with a dough hook.
2. Using your hands, shape dough into a ball. Pop it into a ziploc bag and flatten it into a disc. Transfer to a fridge to proof for at least 4 hours or leave it overnight.
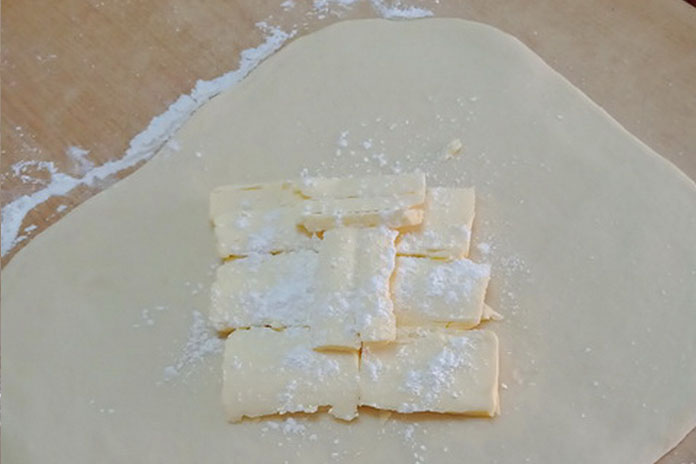
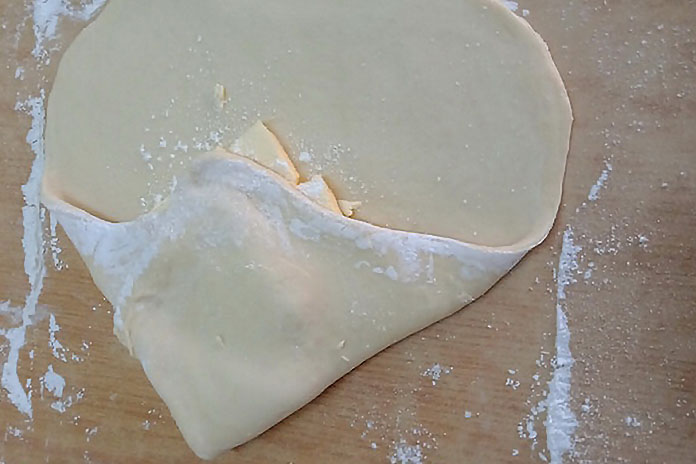
3. Dust kitchen top with some flour. Sprinkle some flour over dough. Hand or machine knead until smooth for 2-3 minutes. Using a rolling pin, flatten dough into a square measuring 38cm x 38cm. Place cold butter slices in centre of dough.
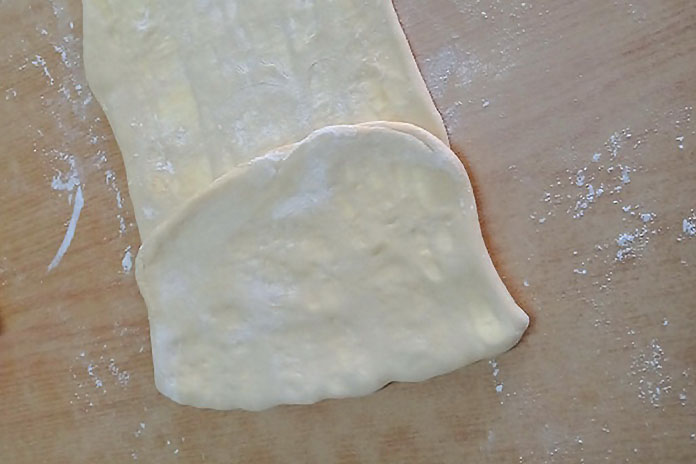
Fold like an envelope to seal.
4. Next, using a rolling pin, roll dough into a rectangular strip measuring 30cm x 76cm. Dust with flour if dough becomes sticky.
5. Placing dough horizontally, fold one third inwards, from the left. Next, fold inwards from the right; there will be 3 layers. This process is called 3-fold lamination.
Chill 1 hour in fridge. This allows butter to firm up, making it easier to work with.
6. Transfer dough from fridge onto kitchen top. Using a rolling pin, flatten dough by pressing it from end to end. Then roll it out to get a smooth surface.
7. Placing dough horizontally, begin on a double-book fold – this folding process helps to build layers. Starting from the left, fold a quarter-way inward. Do the same for right flap until the edges meet in the centre. It should look a double page of an open book. Fold again to overlap dough as if to close a book. You will see 4 layers. Chill in fridge for 1 hour for butter to firm up again.
8. Spread garlic and herb butter evenly on top of dough. Repeat 3-fold lamination. Place dough inside a ziploc bag. Chill in fridge another hour or until butter firms up.
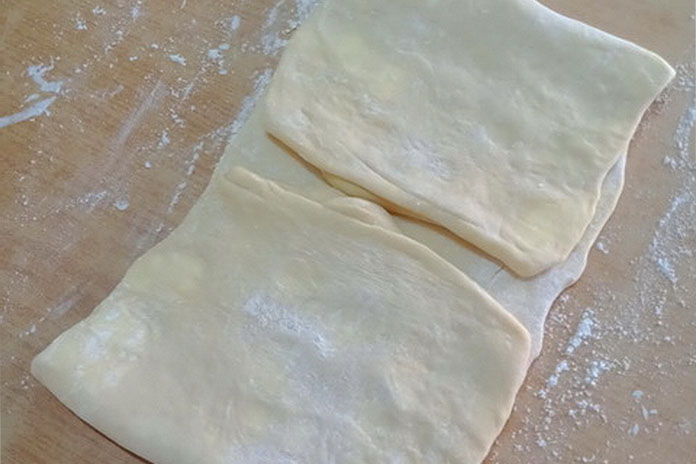
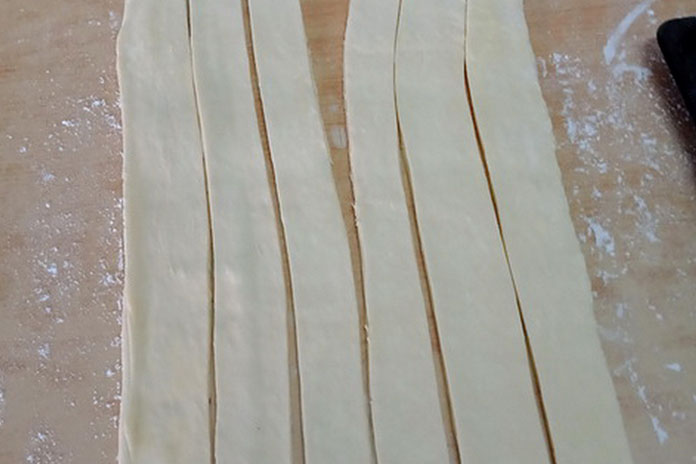
9. Transfer dough onto a kitchen top. Using a rolling pin, flatten it to 30cm x 50cm. Divide into 2 rectangular pieces, each measuring 15cm x 25cm. For each piece, cut into 3 strips. You will get a total of 6 strips.
10. Begin braiding process: Line both 3 x 3 strips side by side. Picking up strip on extreme right, cross over the middle strip and drop it. Next, pick up left strip and cross it over middle strip. Repeat this process alternating from right to left until a braid forms.
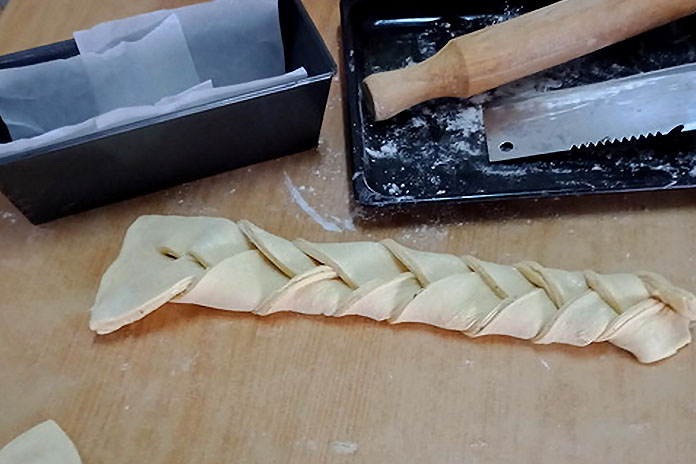
Press ends together to seal it. Repeat process for the remaining 3 strips of dough.
11. Next, braided side facing upwards, tuck both ends underneath.
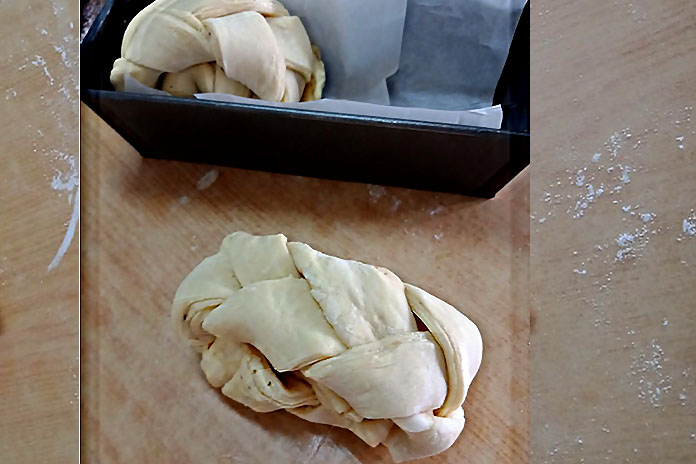
Do the same with the other braid. There will be two pieces of braided dough. Grease and line a 10cm x 21cm loaf tray. Gently place them into tray to proof.
12. Set aside at room temperature for 2 hours to rest – allowing both braids to rise until double in size.
13. Twenty minutes before resting period is up, preheat oven to 210C.
14. Using a pastry brush, glaze tops evenly with egg wash. Bake for 25 minutes. Turn tray around in oven to allow bread to brown evenly.
15. Reduce oven temperature to 195C. Continue baking another 20 minutes, until crown of bread turns golden brown.
Allow it to cool down for at least 20 minutes. Slice thickly and serve warm with butter.

TIP: Keep butter cold by leaving it in the fridge. Cutting them into slices makes it easy to incorporate into the dough. Place butter inside a plastic bag, use a rolling pin to slighly flatten butter. This process of adding butter known as lamination helps to build flavour and layers in bread.
TECHNIQUE: Proofing dough overnight in the fridge not only strengthens its structure but also allows the yeast to work gently for an even rise.
Photos: Kristy Wong
Click on storm.sg/food for more recipes and reviews of restaurants.
If you have a simple recipe to share, please email it whipitup@storm.sg.
You may like to try these recipes:


